Festive Graduation Cake Pops
Highlighted under: Best Desserts | Yummy Sweets
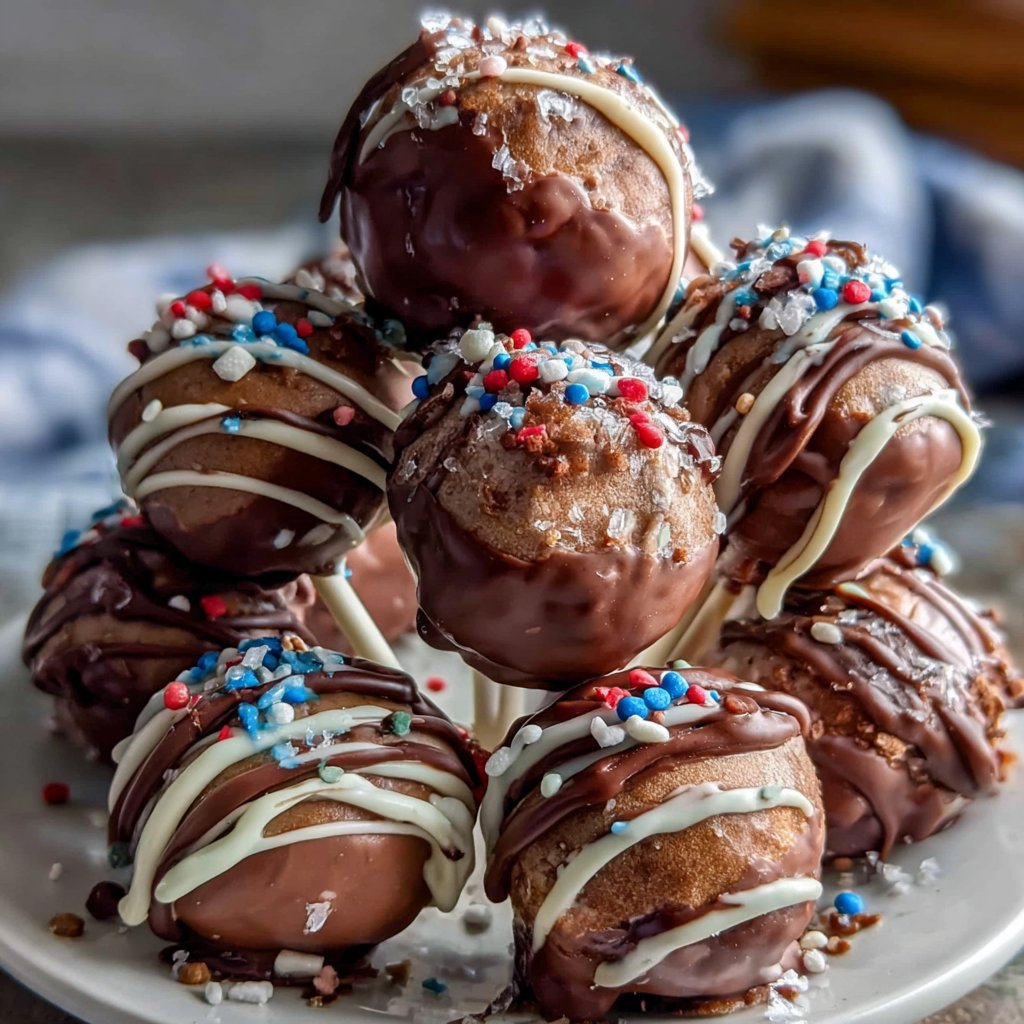
When we decided to celebrate graduation at home, I knew I wanted something fun and festive, and these cake pops fit the bill perfectly! With their vibrant colors and celebratory sprinkles, they bring a playful vibe to any gathering. The best part is how easy they are to make, especially if you use leftover cake or a box mix. These cake pops are always a hit, and there's nothing quite like watching friends and family enjoy these sweet treats together.

Creating these festive graduation cake pops turned out to be a delightful adventure. I melted chocolate for the coating, which gave me a chance to experiment with various colors and flavors. By using cake scraps, I minimized waste and got creative. Rolling the cake mixture into balls was the best part, watching how they transformed into little treats of joy!
One tip I discovered was to chill the cake balls before dipping them; this helps them maintain their shape and makes coating them a breeze. Plus, don’t skimp on the sprinkles! They make each pop look like a celebration. I loved seeing everyone's smiles when they took a bite!
Why You'll Love These Cake Pops
- A fun way to celebrate a graduation milestone
- Customizable with your favorite cake flavors and colors
- Easy to make ahead of time and serve as delightful party favors
The Art of Rolling Cake Balls
Rolling the cake mixture into uniform balls is crucial for even coating and presentation. Aim for each ball to be about 1 inch in diameter. This size not only makes for perfect pops but also ensures they cook uniformly when dipping. If the mixture feels crumbly, add a touch more frosting until it's moist enough to hold together. Just be cautious; too much frosting may make them overly soft and hard to dip.
After forming the cake balls, it's essential to chill them for about 15 minutes. Chilling helps solidify the mixture, making it easier to handle and dip into the chocolate. If time allows, you can even refrigerate them for up to an hour for firmer results. This step is crucial, as warm cake balls can lead to a messy chocolate dip, causing them to lose shape while being coated.
Choosing Your Chocolate Coating
When selecting chocolate chips for coating, I recommend using high-quality chocolate for a smoother finish. You can opt for semi-sweet, milk, or even white chocolate, depending on your taste preference. If you're feeling adventurous, consider mixing in some flavored candies or adding colored melts for a fun twist. Just remember that different chocolate types have varying melting points, so keep a close eye during the melting process to prevent burning.
If you find that your melted chocolate is too thick for dipping, you can thin it out by adding a small amount of vegetable oil or shortening. This addition will give the chocolate a more fluid, glossy texture, making for a professional-looking finish on your cake pops. Conversely, if your chocolate hardens during the dipping process, simply return it to the microwave for a few seconds to bring it back to a usable consistency.
Storage and Serving Suggestions
Once your cake pops are complete, they can be stored in an airtight container at room temperature for up to 3 days. For longer storage, consider refrigerating them, which can extend their freshness for about a week. Just be mindful that refrigeration might cause the chocolate to lose its sheen slightly. If you want to freeze them, wrap each pop in plastic wrap and store in a freezer-safe bag for up to a month. Simply let them thaw in the fridge before serving.
For an extra festive touch, serve your cake pops in decorated foam blocks, or arrange them in a decorative vase filled with colorful candies. They can also be individually wrapped in clear cellophane for easy grab-and-go treats at celebrations. Don’t hesitate to get creative with toppings; crushed nuts, edible glitter, or themed sprinkles can elevate your cake pops and make them more visually appealing!
Ingredients
For the Cake Pops
- 1 box of cake mix (your favorite flavor)
- Ingredients for cake mix (as per package instructions)
- 1 cup frosting (store-bought or homemade)
- 2 cups chocolate chips (for coating)
- Sprinkles (for decoration)
- Lollipop sticks
Instructions
Bake the Cake
Prepare the cake mix according to the package instructions and bake in a 9x13 inch pan. Allow to cool completely.
Mix Cake and Frosting
Once the cake is cool, crumble it into a large bowl. Mix in the frosting until well combined. The mixture should be moist but not overly sticky.
Form Cake Balls
Use your hands to roll the mixture into small balls, about 1 inch in diameter, and place them on a baking sheet lined with parchment paper.
Chill the Cake Balls
Refrigerate the cake balls for about 15 minutes to firm them up, which will make dipping easier.
Melt Chocolate
In a microwave-safe bowl, melt the chocolate chips in 30-second intervals, stirring until smooth.
Dip and Decorate
Dip one end of the lollipop sticks into the melted chocolate, then insert them into the cake balls. Dip each cake ball into the melted chocolate and let the excess drip off. Roll in sprinkles while the chocolate is still wet.
Set and Serve
Place the finished cake pops upright in a styrofoam block or a cup to set. Allow the chocolate to harden before serving.
Pro Tips
- For an even more festive look, try using colored candy melts for coating. Additionally, you can personalize the cake pops by adding themed decorations or edible glitter.
Flavor Variations
One of the best parts about cake pops is how versatile they are. If you're feeling creative, try using different cake flavors, such as red velvet, lemon, or chocolate. Adjust the frosting accordingly; cream cheese frosting pairs beautifully with red velvet, while a tangy lemon frosting complements a lemon cake perfectly. You can also experiment with flavored chocolate coatings, like using dark chocolate with espresso cake for a sophisticated twist.
Additionally, consider adding a splash of flavor extract to your frosting or cake batter, such as almond, strawberry, or coconut, to give your cake pops a unique taste. A hint of candy cane extract can transform standard vanilla cake pops into delightful holiday treats, while pineapple extract can lend a tropical flair to a vanilla or yellow cake. Don't hesitate to let your imagination guide your flavor combinations!
Troubleshooting Common Issues
If you find your cake pops are crumbling when you dip them, it’s likely they were either too dry or not chilled sufficiently. Be sure to mix the frosting in well until you reach a moist consistency before rolling. If you encounter a situation where the chocolate coating is not adhering well, it may help to dip each stick in melted chocolate before inserting it into the cake ball. This can create a better bond between the stick and the pop.
Should you notice that your chocolate coating is cracking as it hardens, this often indicates that the chocolate was overheated during melting. Always melt in short bursts and stir frequently until smooth. If you encounter excess chocolate pooling at the base of the pops, gently tap the pop on the edge of your bowl to encourage the chocolate to drip off. This will give you a cleaner look and prevent unsightly messes.
Questions About Recipes
→ Can I use store-bought cake pops?
Yes, store-bought cake pops can be a convenient option, but making your own lets you customize flavors and decorations.
→ How do I store cake pops?
You can store cake pops in an airtight container in the refrigerator for up to a week.
→ Can I freeze cake pops?
Absolutely! Freeze them for up to 2 months. Just ensure they are wrapped well to avoid freezer burn.
→ What other flavors can I use?
Feel free to experiment with different cake flavors and frostings! Chocolate, red velvet, and vanilla are all popular choices.
Festive Graduation Cake Pops
Created by: The Chefoscarkitchen Team
Recipe Type: Best Desserts | Yummy Sweets
Skill Level: Easy
Final Quantity: 20
What You'll Need
For the Cake Pops
- 1 box of cake mix (your favorite flavor)
- Ingredients for cake mix (as per package instructions)
- 1 cup frosting (store-bought or homemade)
- 2 cups chocolate chips (for coating)
- Sprinkles (for decoration)
- Lollipop sticks
How-To Steps
Prepare the cake mix according to the package instructions and bake in a 9x13 inch pan. Allow to cool completely.
Once the cake is cool, crumble it into a large bowl. Mix in the frosting until well combined. The mixture should be moist but not overly sticky.
Use your hands to roll the mixture into small balls, about 1 inch in diameter, and place them on a baking sheet lined with parchment paper.
Refrigerate the cake balls for about 15 minutes to firm them up, which will make dipping easier.
In a microwave-safe bowl, melt the chocolate chips in 30-second intervals, stirring until smooth.
Dip one end of the lollipop sticks into the melted chocolate, then insert them into the cake balls. Dip each cake ball into the melted chocolate and let the excess drip off. Roll in sprinkles while the chocolate is still wet.
Place the finished cake pops upright in a styrofoam block or a cup to set. Allow the chocolate to harden before serving.
Extra Tips
- For an even more festive look, try using colored candy melts for coating. Additionally, you can personalize the cake pops by adding themed decorations or edible glitter.
Nutritional Breakdown (Per Serving)
- Calories: 120 kcal
- Total Fat: 6g
- Saturated Fat: 3g
- Cholesterol: 15mg
- Sodium: 50mg
- Total Carbohydrates: 16g
- Dietary Fiber: 0g
- Sugars: 10g
- Protein: 2g