Garlic Roasted Chickpeas Snack
Highlighted under: Veggie Meals | Plant Food
I absolutely love snacking on garlic roasted chickpeas. They are not only crunchy and flavorful but also packed with protein and fiber, making them an ideal choice for a healthy snack. Every time I prepare them, the aroma of garlic fills my kitchen, creating an irresistible atmosphere. This recipe is simple yet rewarding, and I can whip it up in less than 30 minutes. If you’re looking for a snack that’s both satisfying and nutritious, these garlic roasted chickpeas are sure to become a favorite!
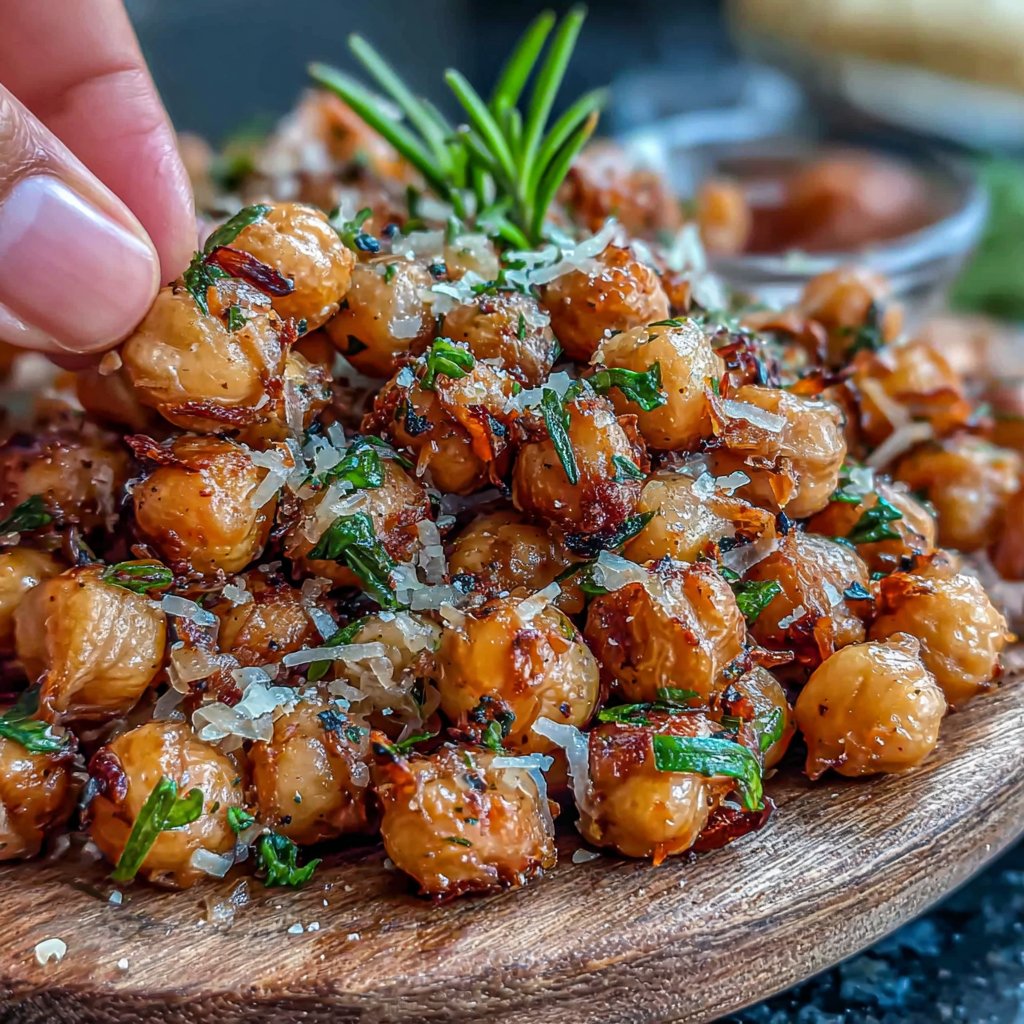
When I first made garlic roasted chickpeas, I didn't expect them to turn out so delicious. I remember the first crunch and the burst of flavor that followed, and I knew I had discovered a special snack. The balance of garlic and olive oil enhances the chickpeas perfectly, making them utterly addictive.
One of my favorite tips is to ensure the chickpeas are completely dry before roasting; this helps achieve that perfect crispiness. I often experiment with various spices, but garlic remains my go-to for a classic taste that never disappoints.
Why You'll Love This Recipe
- Crispy texture that satisfies every crunch
- Savory garlic flavor that enhances your taste buds
- Quick and easy to prepare for any snack craving
The Perfect Chickpea
When selecting chickpeas for your garlic roasted snack, opting for canned varieties is not only convenient but also efficient. Canned chickpeas are pre-cooked, allowing for a quicker roasting process. Ensure to drain and rinse them thoroughly under cold water; this removes excess sodium and helps to achieve that perfect crunch. If you’re feeling adventurous, you can also use dried chickpeas. Just soak and cook them until tender before proceeding with the roasting steps, though this will require additional time.
The texture is a crucial component of this recipe. The key to achieving ultra-crispy chickpeas lies in drying them thoroughly after rinsing. Spread the rinsed chickpeas on a kitchen towel or paper towel and let them sit for about 10-15 minutes. This step removes moisture, ensuring that the olive oil and seasonings adhere better and that you get that delightful crunch during roasting.
Spicing it Up
The seasoning combination of garlic, paprika, salt, and pepper offers a wonderful base for flavor, but don’t hesitate to customize! For a Mediterranean twist, consider adding some dried oregano or thyme. If you enjoy bold flavors, sprinkle in some ground cumin or coriander for a warming aspect. The optional cayenne pepper can also elevate the experience; just a pinch will add a nice kick without overwhelming the garlic goodness.
If you're following dietary restrictions, you can easily adapt this recipe. For instance, to keep it low-sodium, simply eliminate or lessen the salt without sacrificing flavor. Additionally, this recipe is naturally vegan and gluten-free, making it suitable for various dietary preferences. If you're looking to enhance the nutritional profile, consider adding nutritional yeast for a cheesy flavor without dairy.
Storage and Serving Suggestions
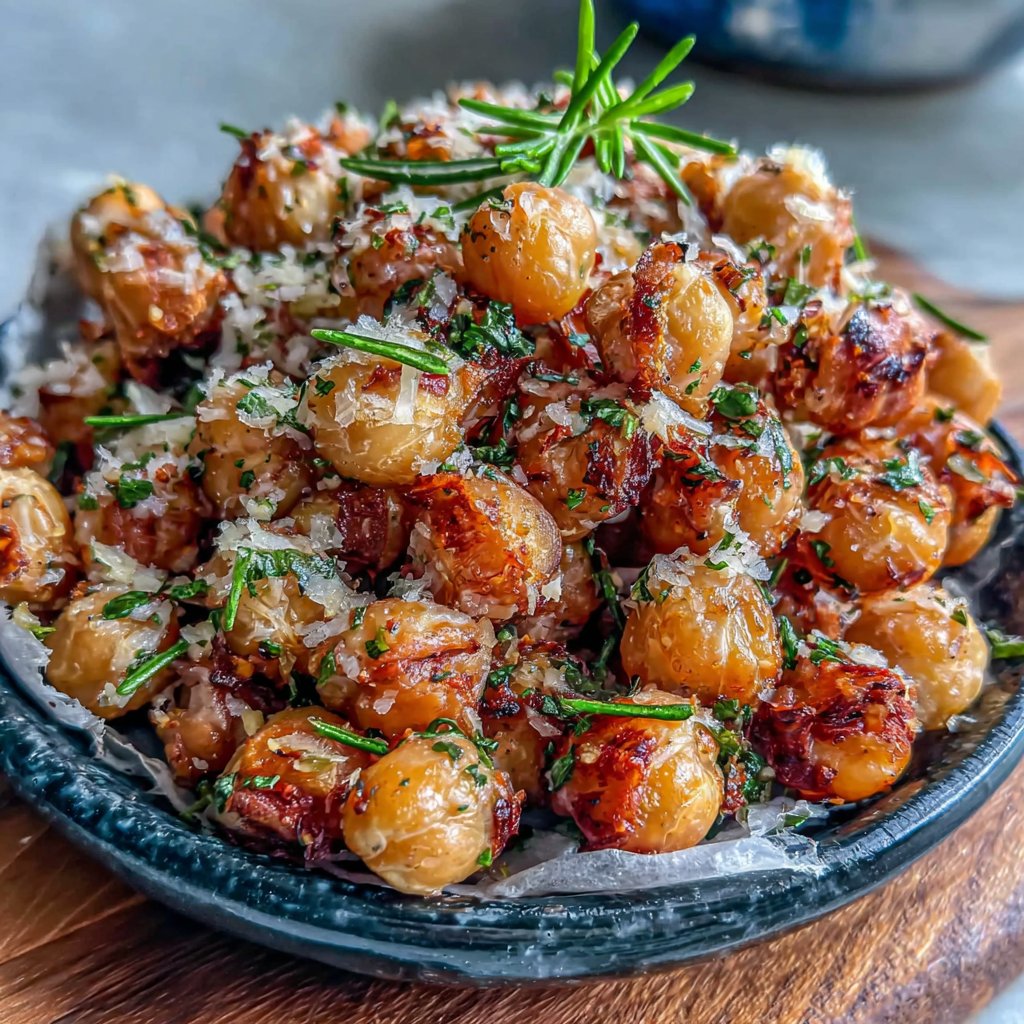
Once your garlic roasted chickpeas have cooled, storage is straightforward. Keep them in an airtight container at room temperature for up to a week. If you notice them becoming a bit soft, you can re-crisp them by placing them back in a 400°F (200°C) oven for about 5-10 minutes. They are great to snack on straight from the container, but you can also use them as toppings for salads or grain bowls, giving your meals an extra layer of texture and flavor.
For a party or get-together, these chickpeas make for an excellent finger food. Present them in a stylish bowl alongside a homemade dip like tahini or hummus for a delightful snack combination. This also opens up the opportunity to serve with a variety of toppings, like fresh herbs or a drizzle of lemon juice right before serving, enhancing the overall experience.
Ingredients
Gather all the ingredients before you start!
Ingredients
- 1 can (15 oz) chickpeas, drained and rinsed
- 2 tablespoons olive oil
- 4 cloves garlic, minced
- 1 teaspoon paprika
- Salt and pepper to taste
- Optional: cayenne pepper for heat
Mix all ingredients well for maximum flavor.
Instructions
Follow these steps to make your chickpeas snack!
Preheat the Oven
Preheat your oven to 400°F (200°C) to prepare for roasting.
Prepare the Chickpeas
In a mixing bowl, combine the drained chickpeas, olive oil, minced garlic, paprika, salt, and pepper. Toss everything together until the chickpeas are evenly coated.
Spread and Roast
Spread the coated chickpeas in a single layer on a baking sheet and roast in the preheated oven for 20 minutes, stirring halfway through.
Cool and Serve
Once crispy and golden, remove the chickpeas from the oven and let them cool for a few minutes before serving. Enjoy your healthy snack!
Store any leftovers in an airtight container for later snacking.
Pro Tips
- To enhance flavor, try adding herbs like rosemary or thyme during the roasting process.
Troubleshooting Common Issues
If your chickpeas aren’t getting crispy enough, check your oven temperature with an oven thermometer, as some ovens can run hot or cold. Additionally, overcrowding the baking sheet can trap steam, preventing crispiness. Make sure to spread them out evenly in a single layer with minimum overlap. If you notice they’re browning unevenly, stirring them halfway through roasting is essential, ensuring all sides achieve that golden perfection.
In case you accidentally added too much salt, balancing the flavor can be done by blending in a small amount of unsalted cooked chickpeas or a dash of olive oil to dilute the saltiness. Remember, tasting the mixture before roasting can help calibrate your seasonings, allowing adjustments to ensure that the final product meets your expectations.
Scaling the Recipe
Scaling this garlic roasted chickpeas recipe is simple and convenient. If you wish to make a larger batch for sharing, just multiply the measured ingredients while ensuring your baking sheets can accommodate the increased quantity. You may need to roast them in batches or use multiple baking sheets, ensuring each batch gets the right exposure to the oven heat for optimal crispiness.
Conversely, if you'd like to make a smaller batch, consider using half a can of chickpeas and adjusting the seasonings proportionally. However, keep in mind that some flavors, like garlic, might be better balanced at higher quantities, so a slight increase might enhance taste even with a smaller batch.
Questions About Recipes
→ Can I use dry chickpeas instead of canned?
Yes, but you'll need to soak and cook them ahead of time until tender.
→ How do I make them spicy?
Add cayenne pepper or chili powder to the mix before roasting for a spicy kick.
→ Can I make these in an air fryer?
Absolutely! Air fry at 375°F (190°C) for about 15 minutes, shaking halfway through.
→ How should I store leftovers?
Store in an airtight container in a cool, dry place for up to a week.
Garlic Roasted Chickpeas Snack
Created by: The Chefoscarkitchen Team
Recipe Type: Veggie Meals | Plant Food
Skill Level: Easy
Final Quantity: 4 servings
What You'll Need
Ingredients
- 1 can (15 oz) chickpeas, drained and rinsed
- 2 tablespoons olive oil
- 4 cloves garlic, minced
- 1 teaspoon paprika
- Salt and pepper to taste
- Optional: cayenne pepper for heat
How-To Steps
Preheat your oven to 400°F (200°C) to prepare for roasting.
In a mixing bowl, combine the drained chickpeas, olive oil, minced garlic, paprika, salt, and pepper. Toss everything together until the chickpeas are evenly coated.
Spread the coated chickpeas in a single layer on a baking sheet and roast in the preheated oven for 20 minutes, stirring halfway through.
Once crispy and golden, remove the chickpeas from the oven and let them cool for a few minutes before serving. Enjoy your healthy snack!
Extra Tips
- To enhance flavor, try adding herbs like rosemary or thyme during the roasting process.
Nutritional Breakdown (Per Serving)
- Calories: 160 kcal
- Total Fat: 6g
- Saturated Fat: 1g
- Cholesterol: 0mg
- Sodium: 140mg
- Total Carbohydrates: 22g
- Dietary Fiber: 6g
- Sugars: 1g
- Protein: 8g